 |
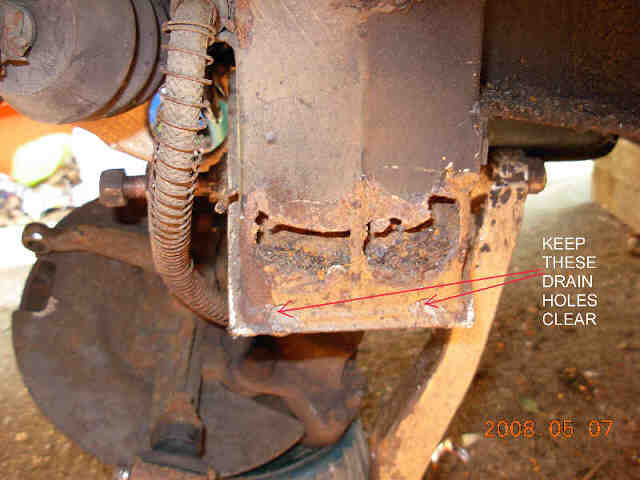
Unless you want this to happen to your chassis too, be sure to keep these drain holes clear. |
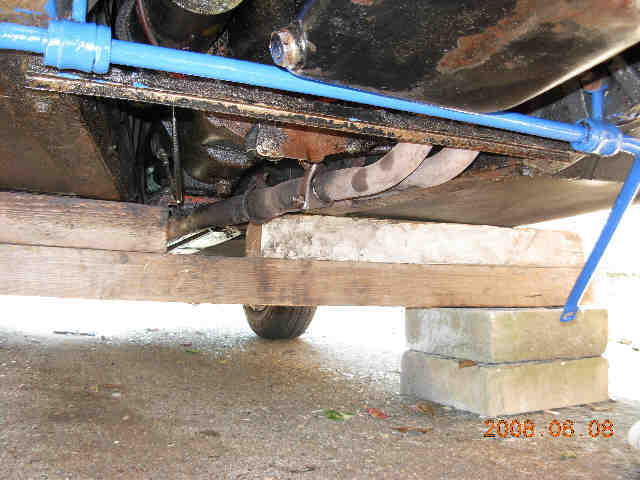 |
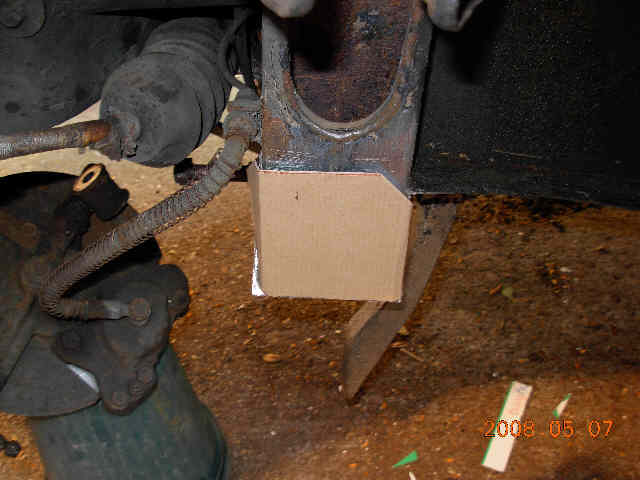
The car now safely jacked up and supported on the 4x4 cross beam support I made
ages ago. The 3 parts of this beam are very securely nailed and bolted together. This allows the car weight to be taken on the centre portions of the chassis, with side support from the body and a gap for the exhaust pipe. |
 |
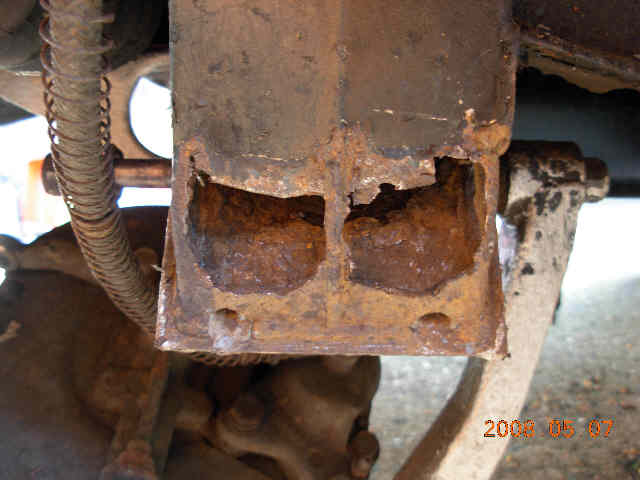
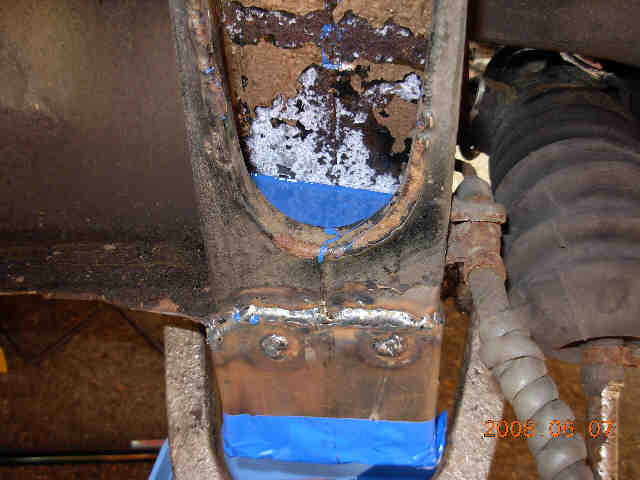
The rust and stones and other crud in the turret can be more clearly seen in this
photo,. |
 |
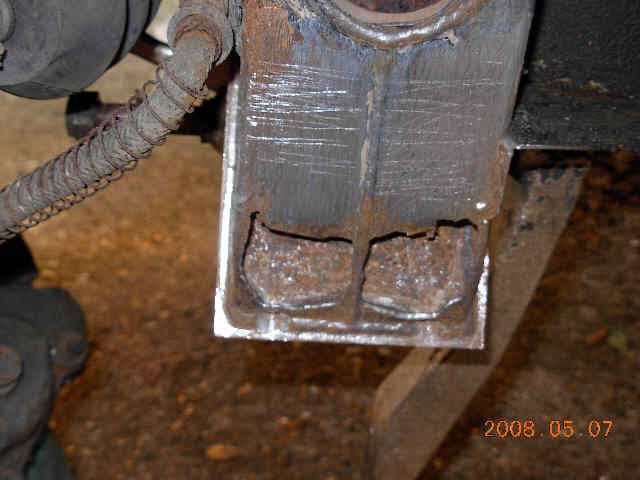
After clearing out the crud & removing the really weak metal. |
 |
The surface rust & paint cleared from the outside of the turret. |
 |
Corrugated cardboard is used to make a template, as it bends in much the same way as steel. |
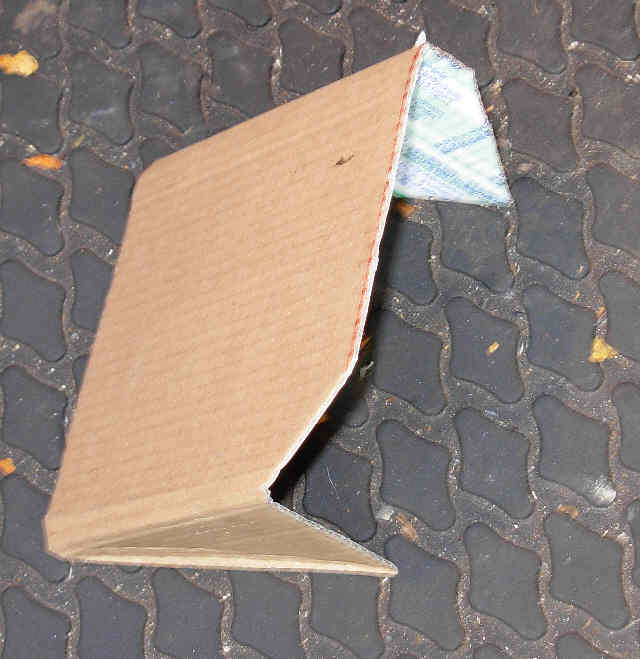 |
Cardboard template. Much fitting and trimming with scissors was needed. |
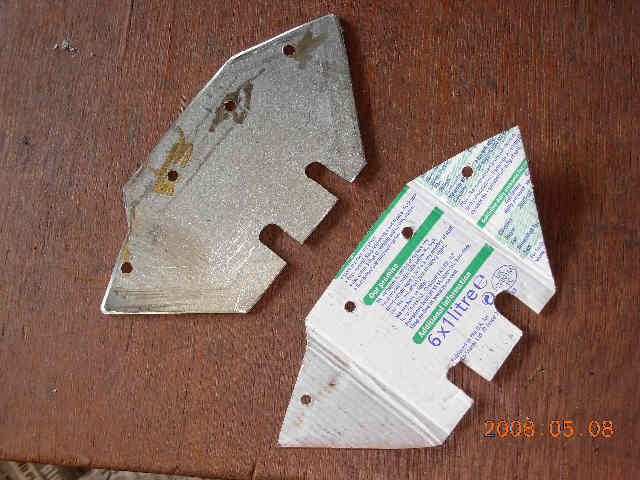 |
The template was completed, including location of fastening holes and new larger
drain slots. Then a replica laboriously cut with a hacksaw from a suitable sheet
of steel (recycled from a piece of the case an old computer, dating from when they
made them really heavy). The steel was chosen as thicker than the original metal of the turret. |
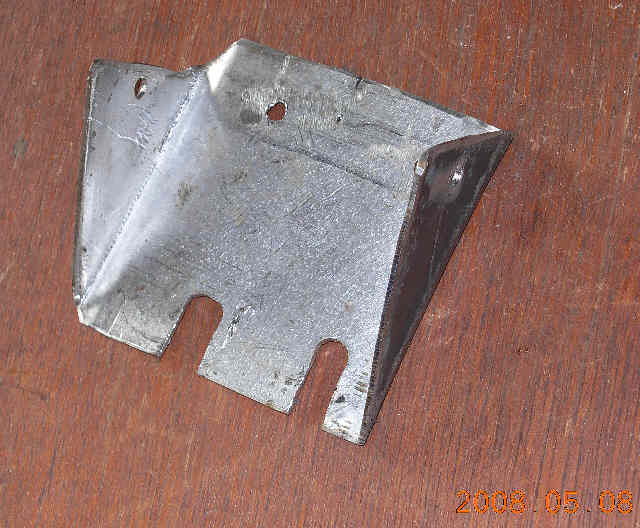 |
The left side patch almost complete. A sort of up-and-over bend was needed on the rear side to clear a small ridge on the chassis. |
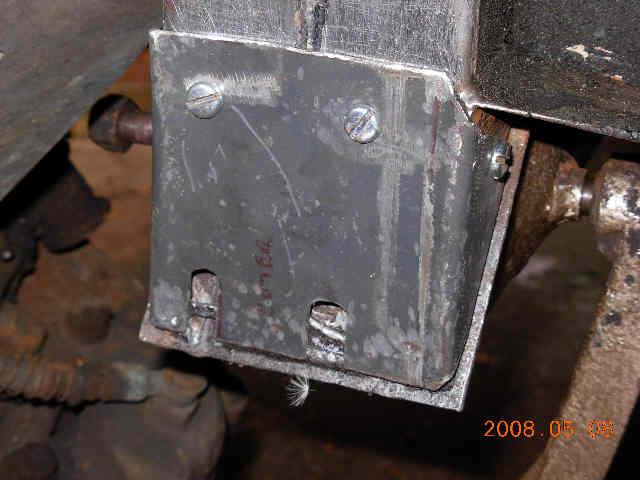 |
The left side patch, temporarily screwed into position. Note how it follows the 45 degree sloping ridge of the cross member (vacuum tank) of the chassis. |
 |
View of left side patch from near the front of the car. |
|
A second patch was made, which was a mirror image of the first (by using the other
side of the cardboard template). Then, because my own welding skills were not up
to doing this tricky job, arrangements were made with my local Garage to do the
welding for me. This involved putting the front suspension back on
and very carefully driving to the Garage. Thank you, John the Welder. |
|
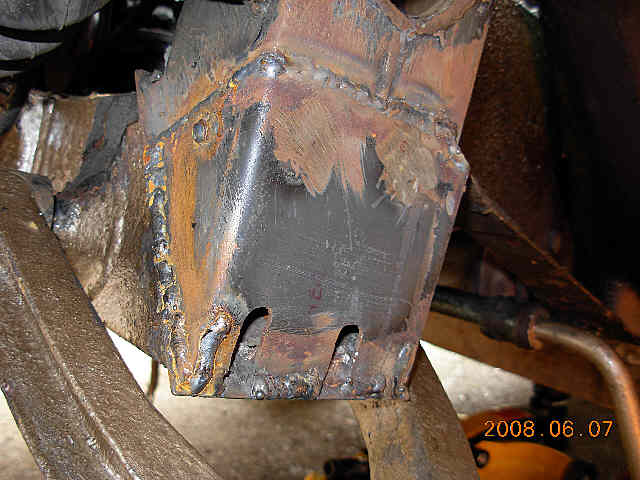 |
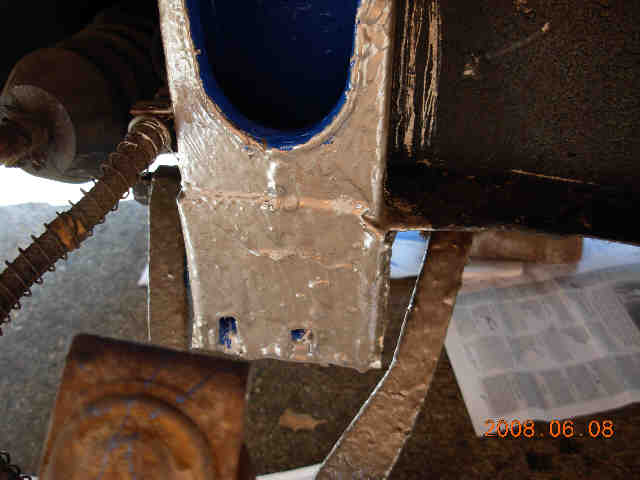
After welding on the left side. Note the temporary screws were removed and their holes welded up. |
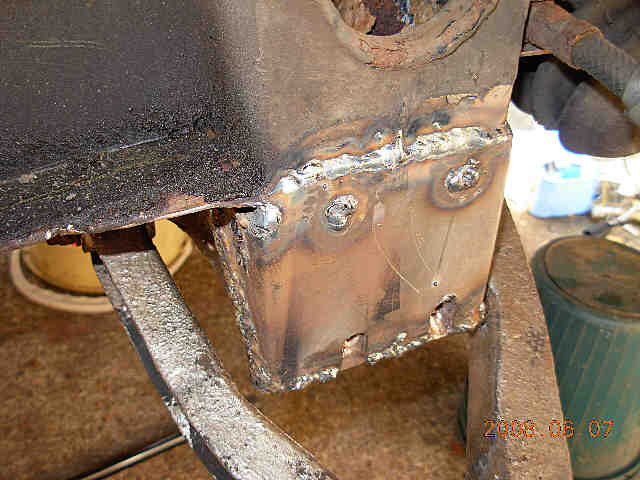 |
After welding on the right-hand side. New drain holes were drilled through the old metal, with the drill pointing upwards at 45 degrees to avoid puncturing the vacumm chamber and the holes were then filed to make them a little bigger & to remove the bottom ridge. |
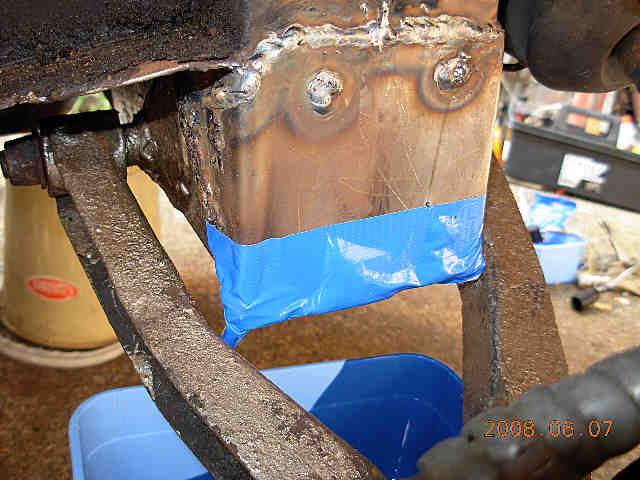 |
Loose rust in the upper interior of the turret was removed with a wire brush. Then the new drain holes were plugged with cotton wool and duct tape. |
 |
Jenolite (rust convertor fluid) was painted on the inside, then a half-litre of
blue Hammerite paint was poured into the turret to ensure that it was painted thoroughly
in the enclosed portion.. |
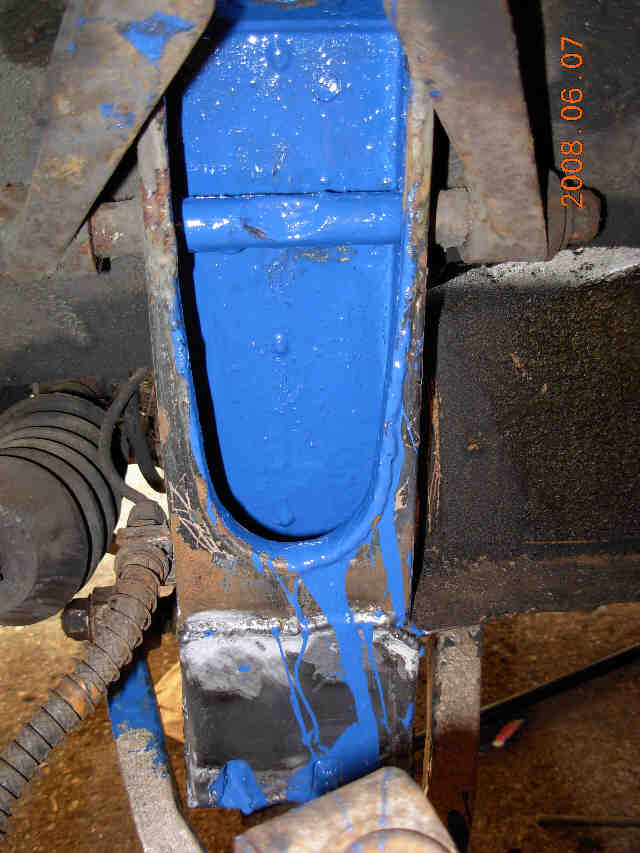 |
The paint in the bottom formed a handy source for painting the upper portion of the
inside of the turret. Then a suitable container was put underneath and the plugs on the drain holes removed. to let the paint out. It was put in a jar for re-use. This flood-painting technique was used on both sides and then repeated about 4 hours later to do a second coat. |
 |
Meanwhile the front damper/spring units were de-rusted and painted. After all I
had plenty of Hammerite paint spare. [this is the same blue colour. It just looks lighter because of the flash photograph]. |
 |
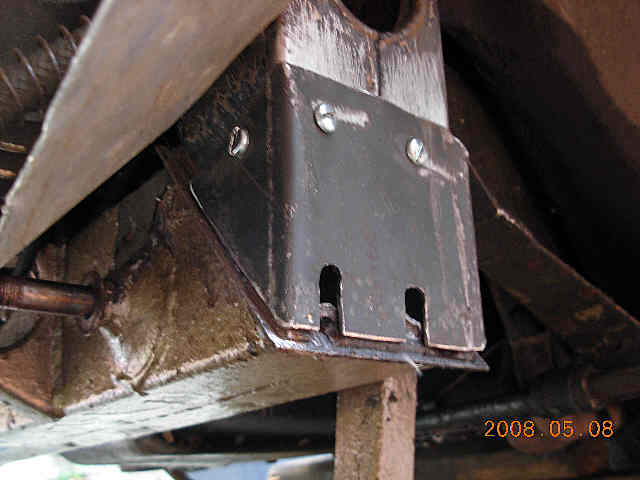
The outsides of the turrets and the steel patches were then painted with gold Hammerite.
(part of the same gallon of Hammerite with which I put 6 layers on the chassis 30 years ago) |
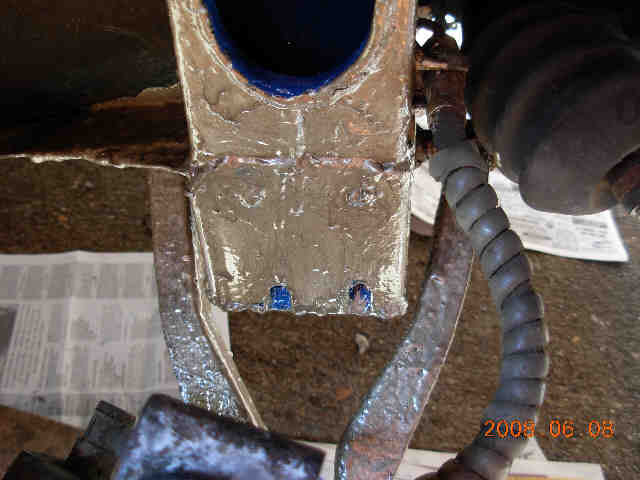 |
And the same on the right hand side. You can see that I am more interested in rust prevention than achieving Concours paint quality :-) |
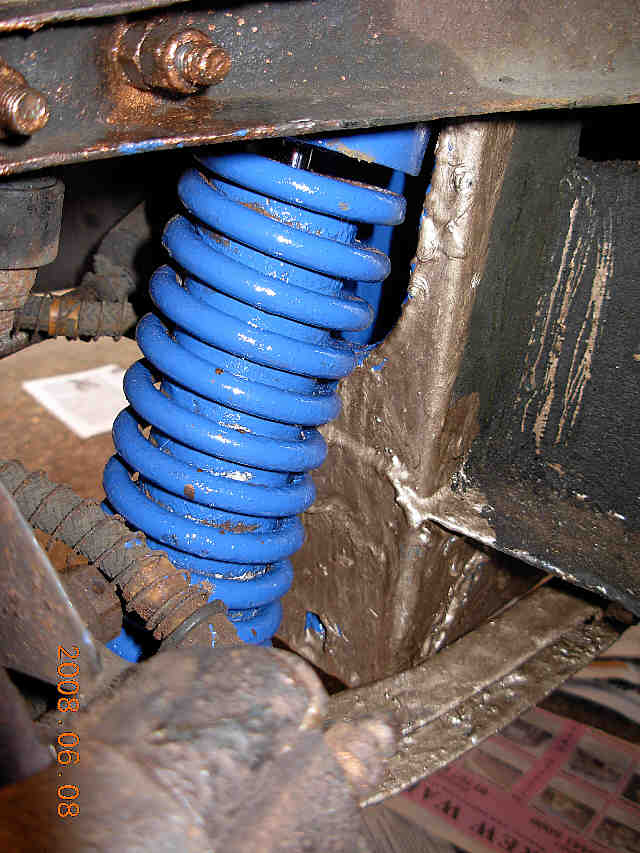 |
And finally the front suspension was re-assembled |
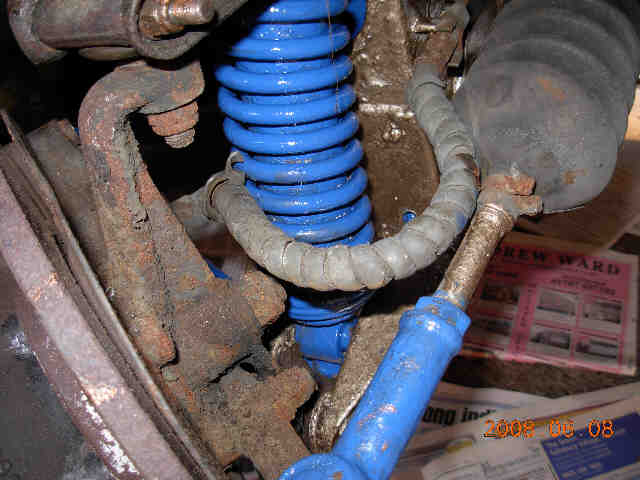 |
All done. At some time in the future I intend to clean up and paint other bits of metal such as the hubs etc, but there is no rush on that as they are not likely to rust into a dangerous condition. |